A Jolly Halloween Holiday with Mary Poppins

crocheted scarf in progress

I hate Halloween. Every year I do my best to ignore it. However, I love contests. And every year my work hosts a Halloween costume contest. Dilemmas, dilemmas. Apparently I love contests more than I hate Halloween.

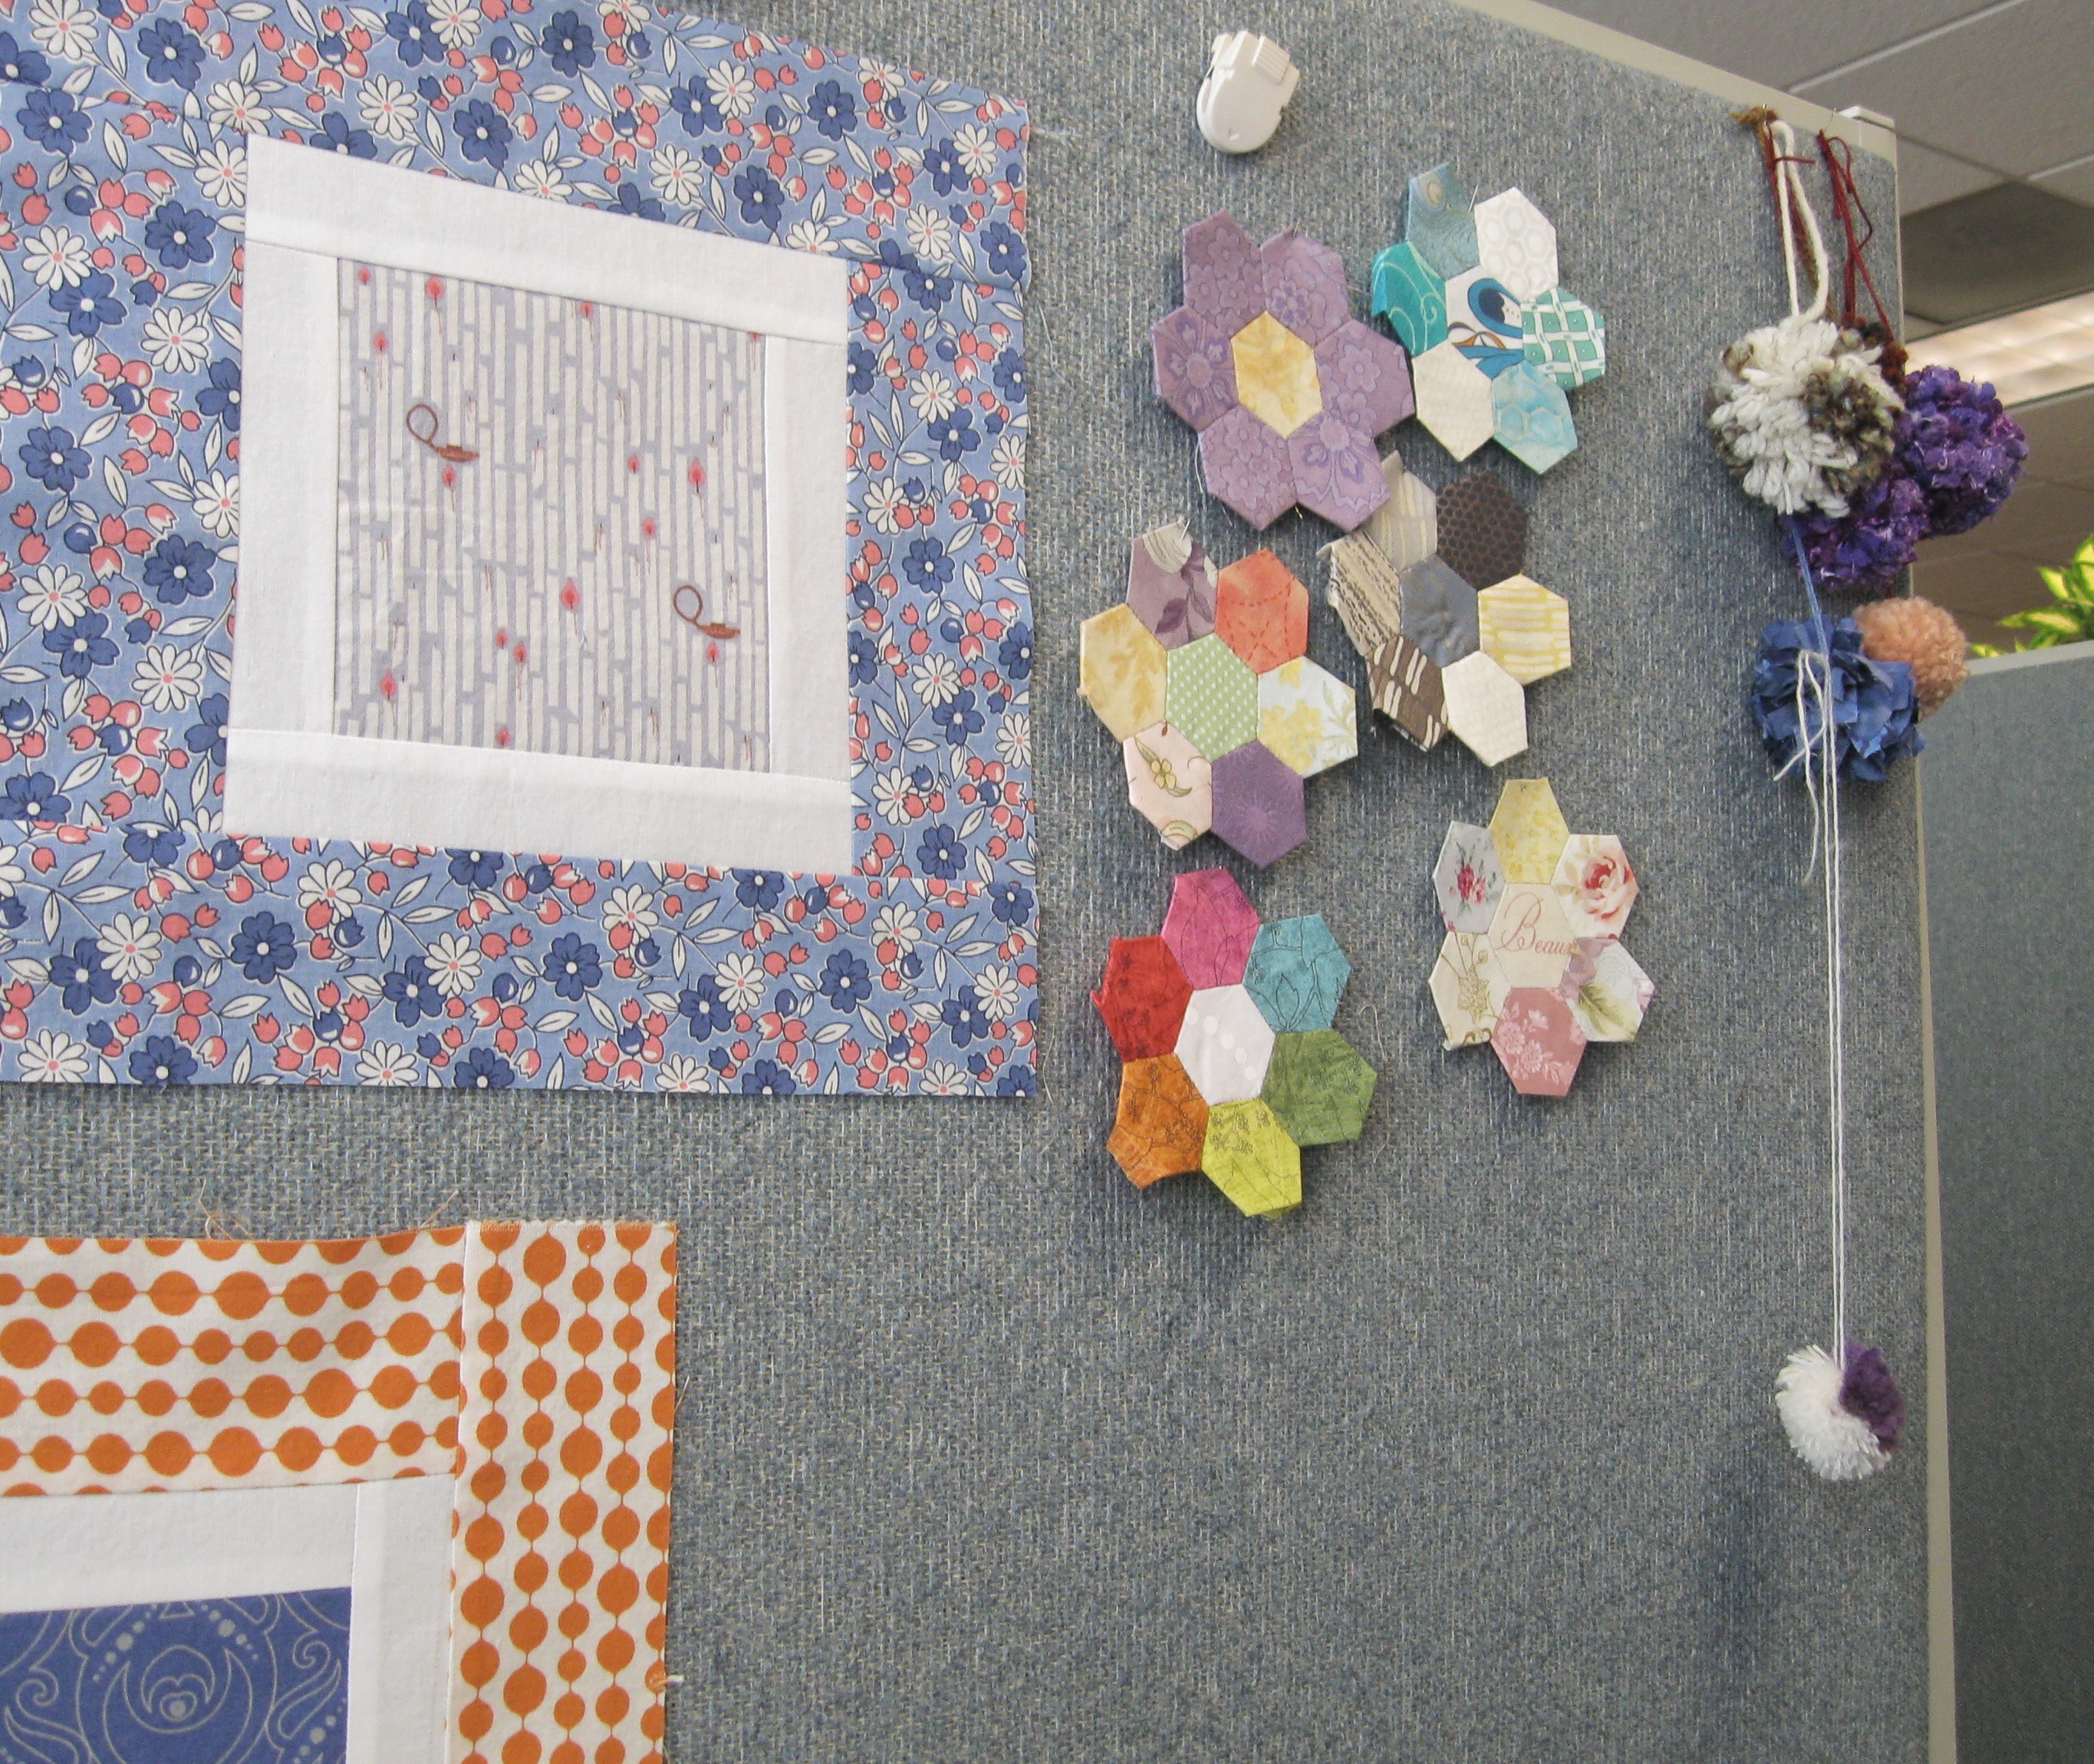
This year I wasn’t feeling it. I had won first place for the last two years. In fact, last year even I won the now-discontinued cubicle decorating contest, too. My plan was to just skip it all and rest on my laurels. But then I saw this scene (which I’ve seen a million times) and noticed something new:


I. Love. That. Scarf.

How had I never noticed it before, Disney fan and knitter that I am? I decided to go as Mary Poppins this year … but only if I had her scarf! No scarf, no costume.

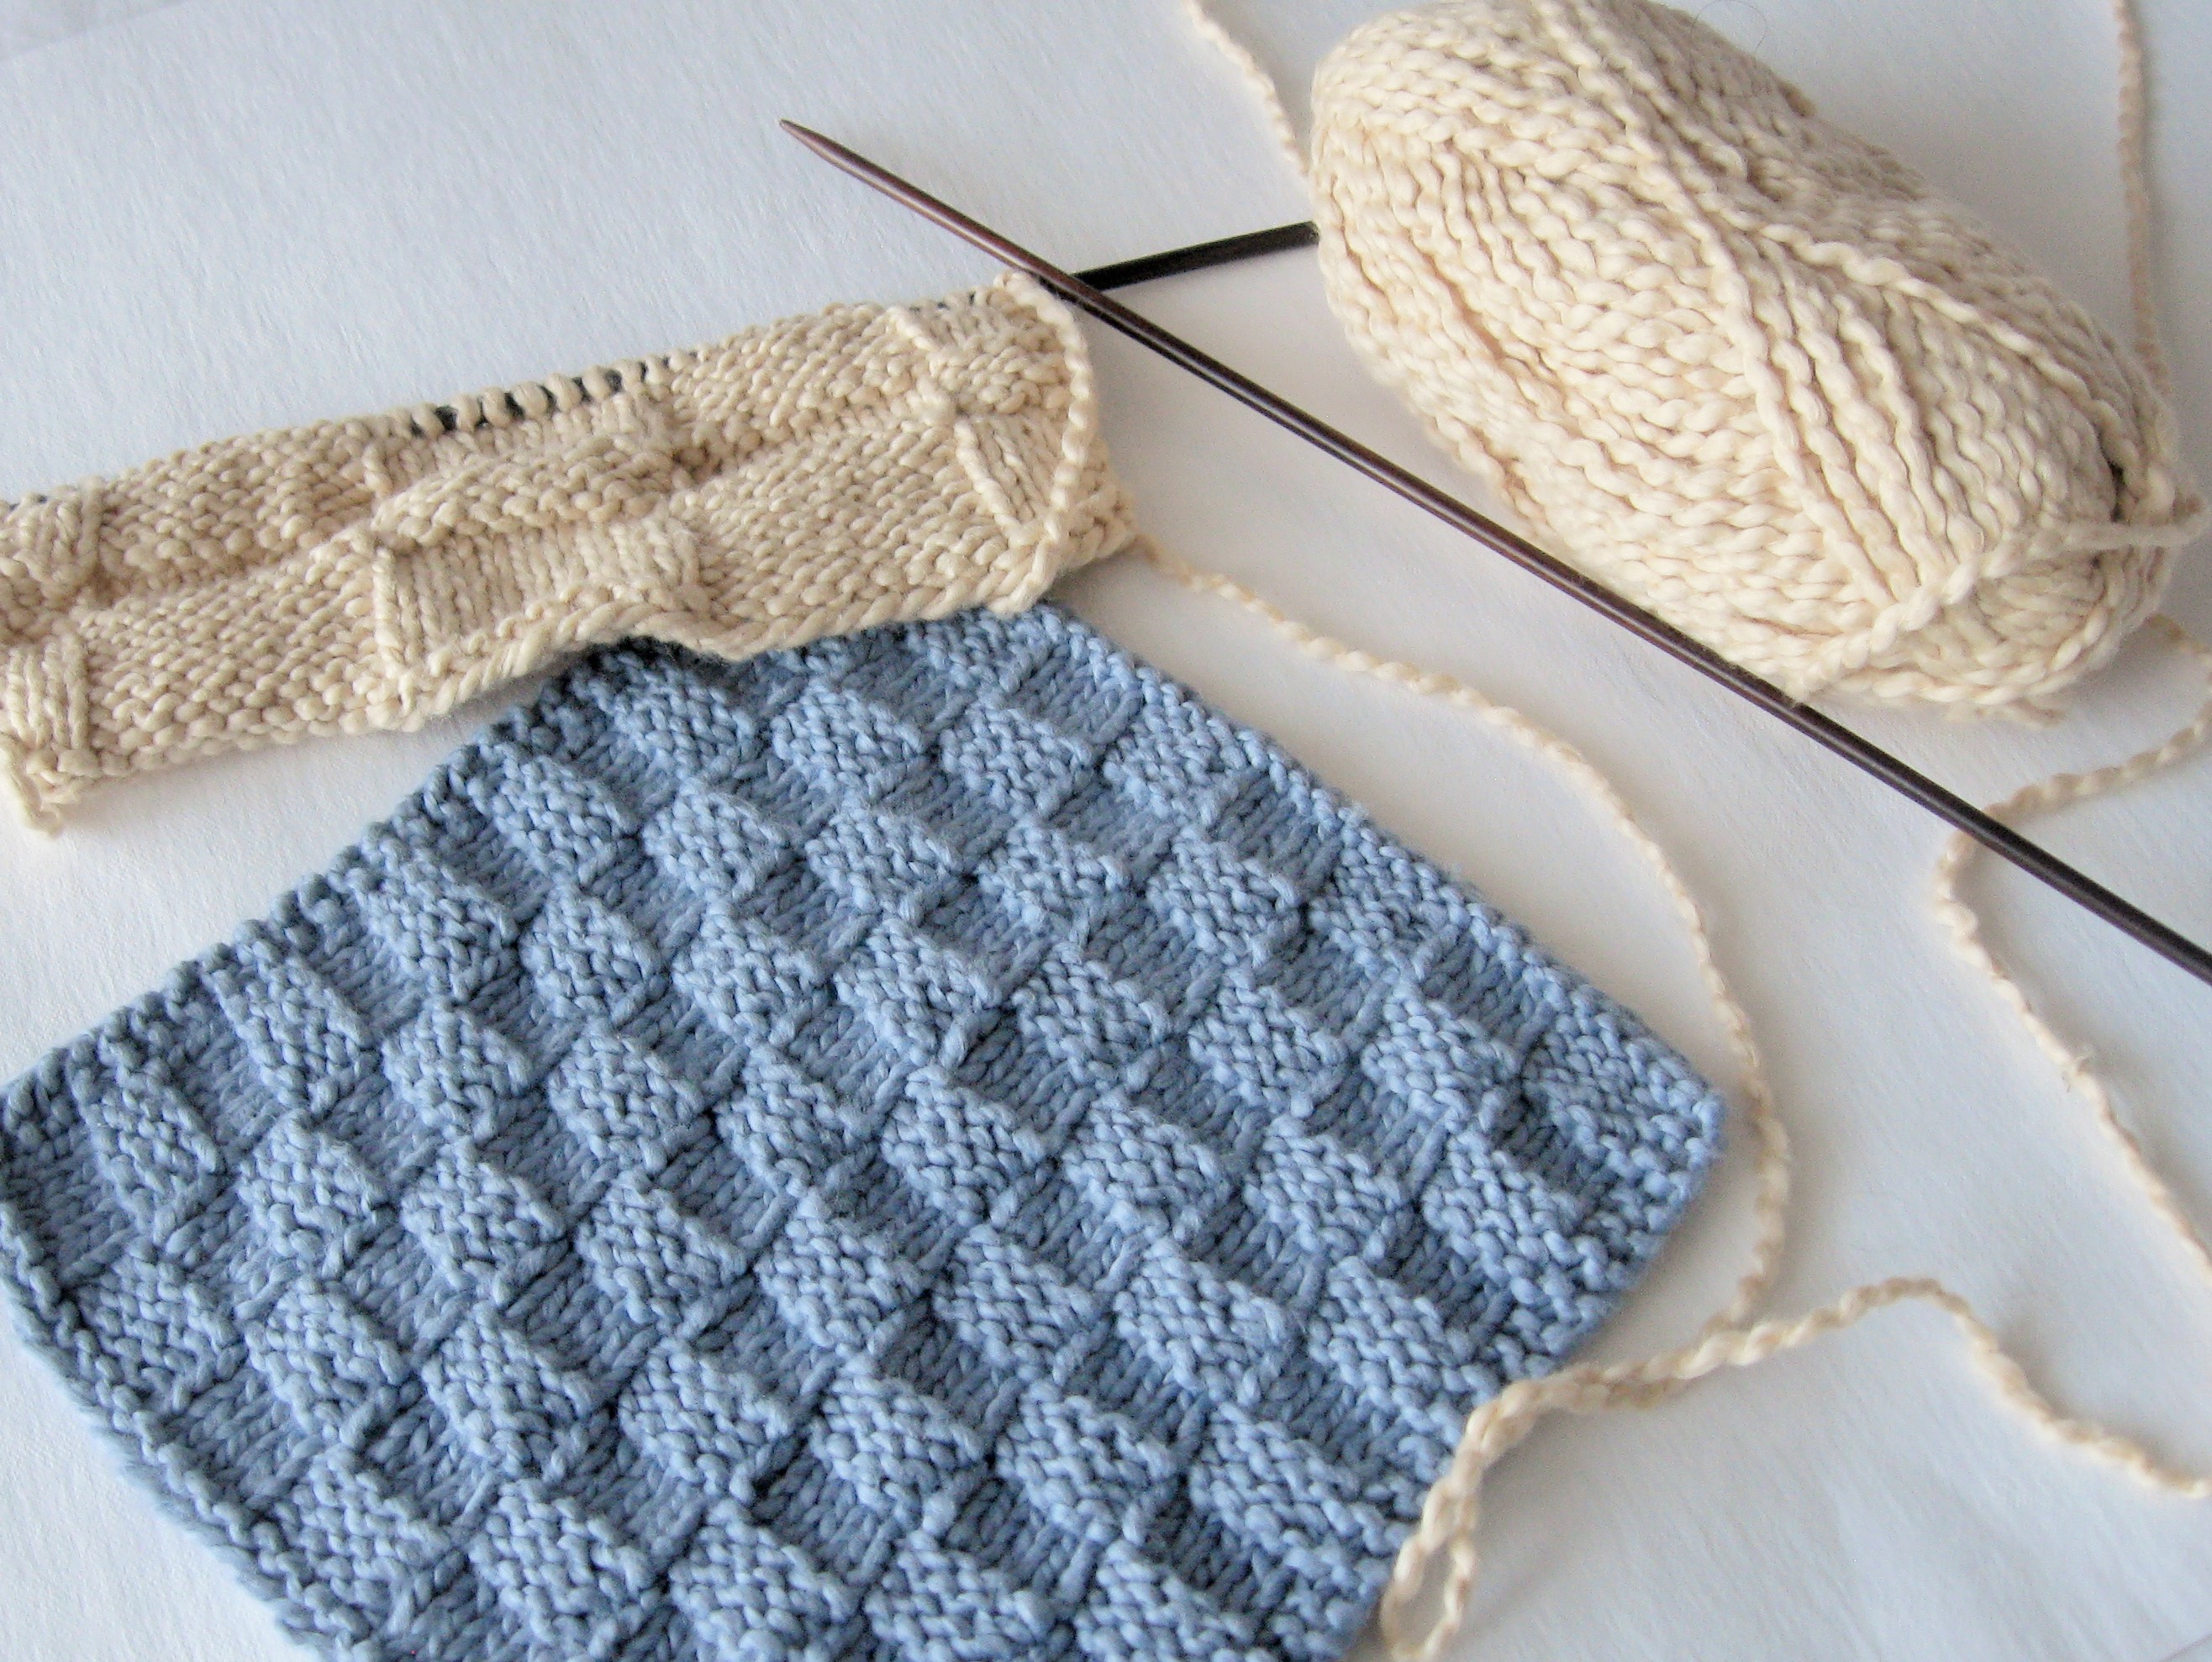
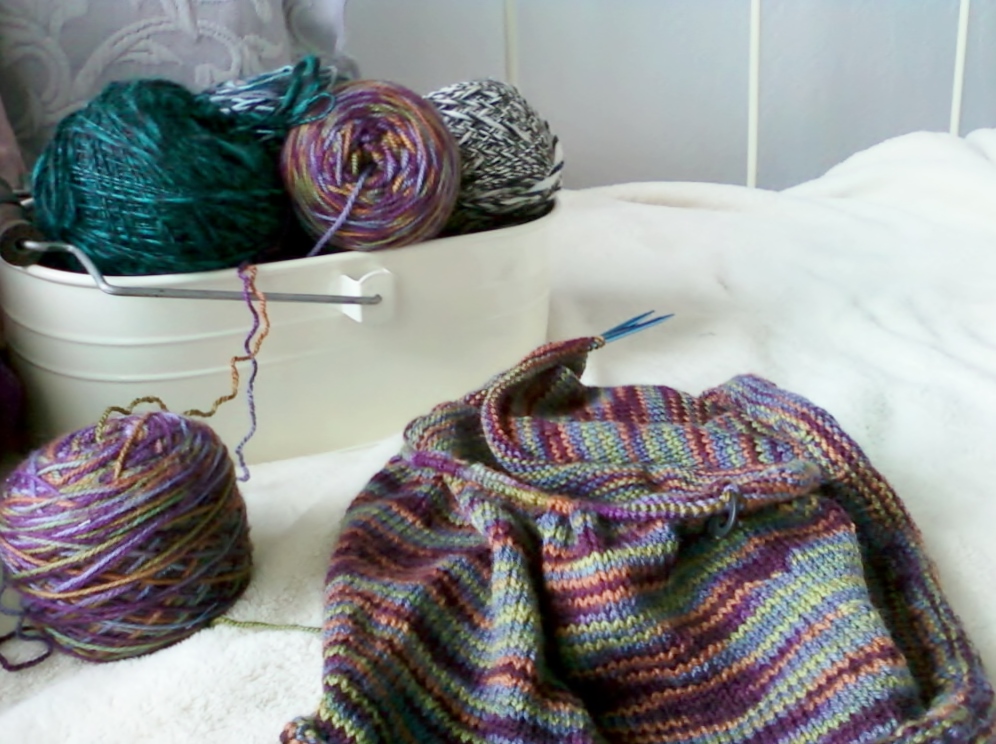
My yarn stash is getting a little crazy as it is, and I’ve told myself no new yarn until I use up some up of what I’ve got. So, I fudged the colors of her scarf so I pull from the stash (and maybe earn the privilege to go yarn shopping again!). Mary Poppins’s scarf is more of a coral pink than a blush pink, and the orange stripes are more red orange. So my colors were “practically perfect.” (And yes, I’ve been overusing that phrase lately. It’ll probably show up a few times in this post. Hopefully it will wear off once Halloween is over.) It’s a simple crochet mesh pattern. The mohair was getting in the way of seeing the holes though. This is why I don’t work with mohair much! I only had eight stitch markers at my desk (markers I borrowed at that) to keep track of my spaces, so I had to improvise with safety pins and bobby pins. You can see them in the photo at the top. I thought it was rather genius, if I do say so myself! A DIY Stitch Marker hack necessitated by Halloween!

crocheted scarf in progress, detail of stripe pattern

My progress as of 4:30 p.m. on October 29 … no more time to procrastinate! Spit spot, as Mary Poppins says!

Of course, I didn’t finish the scarf. Really, what was I thinking being able to finish a whole scarf in two days? But by that time I had invested too much time to ditch the costume idea. And I had done too much research on Mary Poppins’s wardrobe.

It’s an easy costume for anyone who needs last minute ideas (for the future … it’s noon on Halloween, so probably too late for this year). Ended up winning 3rd place. (You can see the winners on C&T’s Instagram.) Not too shabby. Plus, I got about half the office singing Supercalifragilisticexpialidocious. (Spelled that right on the first try, according to spellcheck! Ha!)—that was better than any prize! They should have never doubted that I know all the words!

Mary Poppins costume

Sorry, the cell phone photo is a little blurry. Still, you get the idea. Fun fact: With my glasses off in this photo, I couldn’t see a thing!

  • Hat: Take almost any brimmed hat, push in the top so that it’s more flat, then cover the whole thing in fabric. The fabric’s optional—I just thought it looked better that way. Mary’s actual hat is straw and has black trim that doesn’t show well in screenshots. Mine had red trim because it’s what I had. And yellow flowers (because that’s what I had). One of my coworkers used to be a costume designer, and she said it’s all about the silhouette. Good to know for future costumes!
  • Blazer: In the movie, Mary Poppins wears a black overcoat while flying, and she replaces it with a navy blazer when  that she takes off and replaces with a navy blazer. The blazer and skirt have a silver stripe, but I skipped that. I wasn’t going to sweat the small details for an office Halloween contest. My blazer is an old tweet coat I bought in high school. I’m just happy it fit!
  • Skirt: Any dress skirt will do, really. Mine is an old black skirt that I use for job interviews.  I think I even wore it to my C&T Publishing interview. Everything comes full circle.
  • Shirt: A white shirt with a Mandarin collar would suffice. I couldn’t find one, though. Instead, I got a white shell at Target and attached lace around it with a running stitch. The bow tie is ribbon that I also stitched onto the shirt. The shirt was a bit of a splurge, but I know I’ll wear it again.
  • Accessories: For shoes, use black boots or black flats with black stockings. Add white gloves (because Mary Poppins is nothing if not proper), an old-fashioned black umbrella, and a “carpet bag” (i.e. a tote of some kind if you can’t find the real thing). Luckily, my mom had all those things for me to borrow.
  • Hair: Mary Poppins has a pretty simple bun, with the front portion of her hair parted in the center and swept back into the bun. If you’re obsessed with detail like I am, there are some decent shots of the back of her head during the scene where she’s convincing Mr. Banks to take the children to work with him. My hair would not cooperate with me though, even after the 24 bobby pins, 2 Spin clips, 1 pony tail holder, and 1 comb. In my epic battle with my hair throughout the morning, I thought to myself “Julie Andrews always looks so perfect in the film … I bet it’s a stupid wig!” And I was right! Go figure. Practically perfect, indeed!
  • Makeup: Mary’s got pretty but simple makeup. Rosy cheeks (blush), highlighted by not colorful eye (black eyeliner, neutral eye shadow), and a relatively bold lip. I saw a lot of Mary Poppins Halloween costumes with a bright red lip. I think that’s a mistake. In the movie, it’s more of an orange red. Red red just doesn’t translate as well (at least, I don’t think it does).

Happy Halloween, everyone (even if I don’t like it)! And Happy All Saints Day! It’s raining here, so this feels appropriate:

Oh, It’s a jolly holiday with Mary
Mary makes your heart so light
When the day is gray and ordinary
Mary makes the sun shine bright

Advertisement

Fresh Sewing Day

Lily's Quilts

Oh wow, it’s June. When did that happen? It can’t be June yet because that means that craft fair season is coming–and I’m not ready!

I missed May’s Fresh Sewing Day, but that wasn’t going to happen this month. No, this time I was going for gusto!  Here’s what I did in May:

  • I bought a bunch of fabric from my local quilt store and I finally got a Clover Mini Iron II for small seams. (I plan to write a review for the iron later.) Keep in mind, I’m supposed to be on a fabric diet. But I needed it. Really. *Ahem* Moving on …
stack of quilting cotton fabric

New fabrics for my stash

  • I pieced the top of a mystery gift quilt, and practiced matching points (which I admit I still need to work on).
  • I found a foundation-pieced purple quilt from 2013 that I had forgotten about in my work-in-progress pile. Joined a few rows. Four blocks to go!
  • I pieced the top of my auction quilt for my church. Wahoo! So glad to get this one off my plate, and with time to spare. Now to think up creative ways to raise more money with it.
dog on rail fence quilt

Penny approved of the auction quilt

  • I started piecing the back of my auction quilt using scraps leftover from the front. The jelly roll race section ended up being more work than I thought, but waste not, want not. (More on this in a future post, too.)
  • I became addicted to hexagons.
  • I forced myself to step away from the hexagons.
  • I remembered that I’m a knitter. Seriously. Sometimes I think I’m a quilter from January to May and a knitter from June to December. I wonder why that is? Worked on my sweater a bit, then started making a bunch of washcloths for the craft fair junket. I want the blue one for myself. Is it bad business to hope your favorites don’t sell so you can keep them?

knitting washcloth with basket weave pattern

  • Total number of photos ruined by Penny jumping in the shot (just this month): 6
dog jumping into photo shoot

Well it was a nice shot …

That should be about it. Busy month! This was my first full month of blogging, and I just want to say thank-you to all those who have left comments, liked my posts, and followed me. From the knitters to the crocheters, from the dog lovers to the quilt lovers, you guys are all the best, and I’m humbled that you keep reading my work. (And I love that I get to check out and be inspired by your work, too!)

Finish It Up Friday: Quilting Bee Blocks

It’s Finish It Up Friday and I am officially done with my freelance editing project. Hooray! …

… Oh, right. This is a craft blog. I’m supposed to be blogging about my finished craft projects. Unfortunately, most of my crafting time this week was postponed for freelance work. I DID, however, manage to finish some blocks that I owed the members of my quilting bee. This was a good thing because I was starting to fall behind. I hate when I get behind on bee blocks, thus contributing to other people’s unfinished project piles.

quilting bee blocks pinned to wall

Cubicle wall = design wall! Adds a pop of color to the office…

The May “queen bee” chose a pattern from the book Fresh Family Traditions by Sherri McConnell. I love the fabric in the middle square of the blue block. Took me awhile to realize they were little candles. Two blocks done, checked off the to-do list, and turned in.

I was also hoping to finish the block for the “queen bee” from some time last year (!), but that didn’t happen. She asked us to make two house blocks of our own imagining for a neighborhood quilt she’s planning; her guides were  “anything goes, but don’t make cookie cutter houses.”  The blocks she got back included a zoo, a hospital, a Victorian, an igloo, a tepee, and a house on fire (that last one’s from me). I just need to complete this mansion, which is based on the Southern plantation architecture of Disneyland’s Haunted Mansion attraction. Silly me, I forgot just how much wrought iron the facade has. It’s a lot more embroidery than I anticipated.

mansion quilt block

Embroidering wrought iron onto this mansion block

haunted mansion disneyland

For comparison, here’s one of my favorite shots of the Haunted Mansion. If you squint, you can see all the green wrought iron.

I’ve learned two things. 1.) Always use some sort of stitch stabilizer (I’m partial to Wash-Away Stitch Stabilizer); and 2.) I love working with COSMO embroidery thread. Which is good because I’m going to be backstitching for awhile.

Linking up to Finish It Up Friday. Also, I’m probably going to the county fair this weekend for the first time in decades. Should be fun. Anyone else have interesting summer weekend plans? Tell me in the comments!

WIP Wednesday: Dog Collars!

two sewn dog collars

At ARF’s Animals on Broadway fundraising walk and pet fair last Sunday, I saw lots of awesome dog items for sale. It gave me a hankering to make some collars. Thus, today’s works-in-progress (work-in-progresses?) are dog collars–3 of them to be exact. The first is fabric, the second is nylon web, and the third is knit. With bells. Collars need bells.

The fabric collar is the Olive’s Collar pattern from the book Liberty Love. I actually blogged about making it before on the Stash Books blog, but I feel like making another. The best part is that the pattern is available for free! You can download it using the link at the bottom of the Stash post. I know many local dog rescues appreciate when volunteers make collars for them; perhaps you might consider making one. I’m thinking of making two (one for Penny, one for the rescues) using a polka dot or geometric print. Maybe something in lime green? I’m feeling the lime green today.

This nylon web collar has been a UFO since 2008. It was supposed to be a gift for my mom’s {then)new dog, using a free pattern recommended by Camp Cocker dog rescue, but my old sewing machine didn’t like the nylon (it didn’t like much of any fabric really). I was so disgusted with the nasty-looking seams that I shoved the whole thing in my sewing basket and forgot about it.  Now that I have a nice, reliable Janome sewing machine, it’s time to revisit that mess of a collar. First step is ripping out all those old seams! You can even see them sticking out in my main image above–ick!

pom-pom yarn knit dog collar

Finally, knit dog collars are one of my staples for the craft fair junket come December. I keep them simple–just a little knit bit of color to slip on over the dog’s existing collar. I sew on a button for the closure. Easy peasy. This particular one is made of a pom-pom yarn that I think is discontinued now. I like how it looks like little snowballs (maybe I can cash in on the crazy popularity of the Frozen movie?). I have tons of these to make before November, so now’s a good time to get started. Too bad most of the dogs hate the bells (or maybe not too bad … bugging pets is fun!).

Linking up to WIP Wednesday at Freshly Pieced Modern Quilts.


dog sniffing collar

Penny approves of these new collars.


WIP Wednesday: The Auction Quilt

Auction rail fence quilt work in progress

Today’s work in progress quilt is one I’ve been calling the “Auction Quilt.” (Any suggestions for a better name? Seriously, I need to name it something for the auction program … )

Every year in October, on the feast of St. Ignatius of Antioch, my church does a dinner dance and live auction fundraiser to raise money for its ministries. This year, perhaps for the first time, they will be auctioning a quilt. A quilt that I’m donating. Eek. It’s a bit of a gamble since we’ve never tried to auction one before, and I’m sure we’ll get a fraction of its worth. I guess that’s always the dilemma when quilting for a cause. Still, part of me hopes to raise lots of money just to prove it can be done!

work in progress auction rail fence block quilt on bed

When I chose the pattern, I tried to think back to quick, easy quilts that my coworkers and I had done recently. We had just made the Gator’s Club quilt from the book Quilts from Textured Solids by Kim Schaefer for a sick coworker. It’s an adaptation of a rail fence block quilt, which got me to thinking how I could adapt the rail fence block too. I checked out Google and Pinterest, then I got out some graph paper and went to town, making the whole thing overly complicated. Alternate and inverted directions, color gradations, sections where I tried to make cross shapes (since it’s for a church) … when I got to the point where I couldn’t piece the rows without slavishly following my diagram, I knew I was golden.

block layout diagram for rail fence auction quilt

The auction coordinator and I decided to stick to blue, green, and white because those are colors that people don’t have strong opinions on. Orange, purple, and pink tend to be “love it or hate it.” I added a “no flowers” caveat  (that I later broke.) Basically, we wanted the widest audience. Of course, later a friend told me, “If you don’t have strong opinions about blue and green, that means you don’t love them either.” Another friend said the quilt looked like something a grandma would love and a grandpa wouldn’t object too (thanks, I think?).

Lots of dilemmas when you’re trying to maximize donations, really.

I’m actually pretty far on this one considering it isn’t due until October: the quilt top is now done, the pieced back has the jelly roll race section finished, and the binding is cut. Hallelujah!

Linking up to WIP Wednesday at Freshly Pieced Modern Quilts and Fabric Tuesday at Quilt Story. If you do have name suggestions, I’d love to hear them in the comments! Thanks!

WIP Wednesday: Aleita Shell knit sweater

Aleita Shell knit sweater in progress

I realized that I’ve yet to have a knitting-related post (it is Penny’s Purls, after all). So, here’s the latest project on my knitting needles: the Aleita Shell (pattern by Bonne Marie Burns). The yarn is Lorna’s Laces Shepherd Sport in Rockwell. I got the pattern from a back issue of Interweave Knits magazine–luckily it’s still available on Ravelry.

Rockwell color swatch, Lorna's Laces

Detail of Rockwell color (Lorna’s Laces Shepherd Sport yarn)

I must confess I have a phobia about knitting clothes. Three years ago, I tried to crochet a tunic and I screwed up so badly I had to cut the bodice off . (Trust me when I say, if a pattern says swatch, you swatch.) I have not attempted clothes since.

It was time for attempt #2. I chose the Aleita Shell because it was cute but not intimidating.

As for the yarn , you can’t go wrong with Lorna’s Laces. I also love Jimmy Beans Wool, which is why I had so many rewards points to use on skeins of the Shepherd Sport. So far the sweater is turning out pretty nice, but I haven’t gotten to the hard part yet …  and I’ve come too far to have it become another  tunic-turned-unfinished project!

If I’m lucky, I’ll have the thing done by fall, right when the leaves start matching the colors in the Rockwell yarn. That’s a happy thought.

Linking up to Work in Progress Wednesdays at Tami’s Amis.

Penny photobombed me. Apparently I took the best sunny spot on the bed.

Penny attempted to photo-bomb me. Apparently I took the best sunny spot on the bed.

WIP Wednesday: Fresh from the book Simply Retro

Scrappy version of Fresh from Simply Retro book by Camille Roskelley

It’s my first Work-in-Progress Wednesday. Hooray!  It feels good to almost be done with this quilt top (it feels good to almost be done with any quilt top). Unfortunately, I can’t talk a whole lot about this quilt yet as it’s a gift for someone who might read this blog (and no, it’s not Mom … although I wish I had a quilt ready for her in time for Mother’s Day). The pattern is Fresh from Simply Retro by Camille Roskelley, but my version looks a little different since I went scrappy on it.

I love that book to bits.

That being said, I hate, hate, hate 2 foot blocks. Ugh. Fresh is the first time I’ve ever dealt with blocks that big. It takes forever to finish one!  At first it seemed great because the rows would go together fast, but I quickly learned I need those little I-finished-one-block-only-eight-to-go milestones along the way. I never realized how I took those for granted.

Of course, considering it looked like this at the beginning of last weekend, I really can’t complain about my progress.

Fresh quilt blocks in progress

This bed is my favorite design wall …

Only 7 more of those little half-square triangle units left!

Linking up to WIP Wednesday over at Freshly Pieced Modern Quilts. (So excited to finally participate in one!)